By Dr. Victoria Egerton, Elli Lilly and Company Extraordinary Scientist-in-Residence, Research Fellow University of Manchester
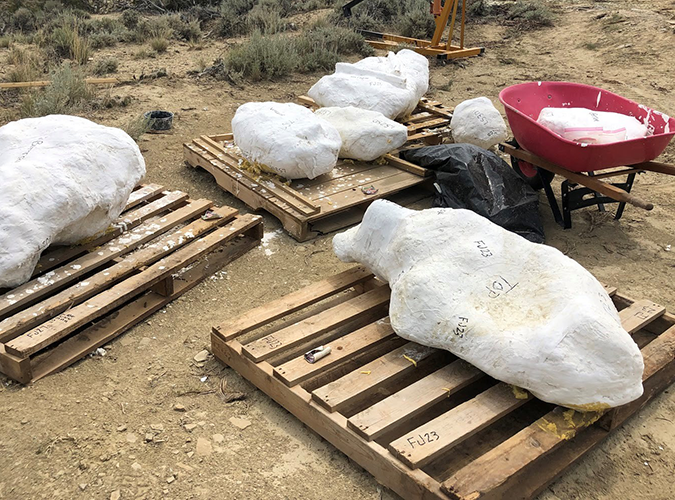
When you look at a photo of the dig site, you probably notice these white objects scattered throughout the area. Have you ever wondered what those are? They look like they might be fossils. But we all know that bones don’t look like this when they come straight from the ground. They’re dirty. And they definitely aren’t pearly white. So what’s going on here?

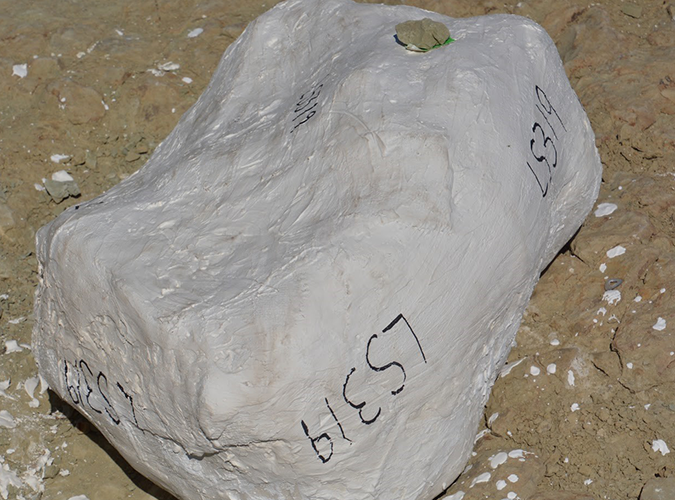
Have you ever broken a bone before? I know. It’s a strange question. But if you have broken a bone before, there’s a good chance you had to wear a cast. And that’s basically what we’re doing here at the dig site. We call the white objects that are scattered around the site field jackets. And they’re giant casts—a lot like the one you had to wear on your broken bone. For many of these jackets, we get the exact same material from medical supply outlets!

Why field jackets?
Field jackets provide protection for the fossil material that we uncover. When we wrap the fossils in this protective casing, it keeps the elements away from the fossils. As we’ve said before, the weather here can be quite challenging at times. Field jackets protect fossils from the weather. They also keep them safe during transport. It takes a lot of effort to remove these giant bones from the field. These field jackets help keep everything in one piece while moving them around, just like the cast on a broken bone.
How do we make a field jacket?
Jacketing a fossil while in the field is a lot of fun because it can get pretty messy! Here are the steps to jacketing a larger fossil in the field.

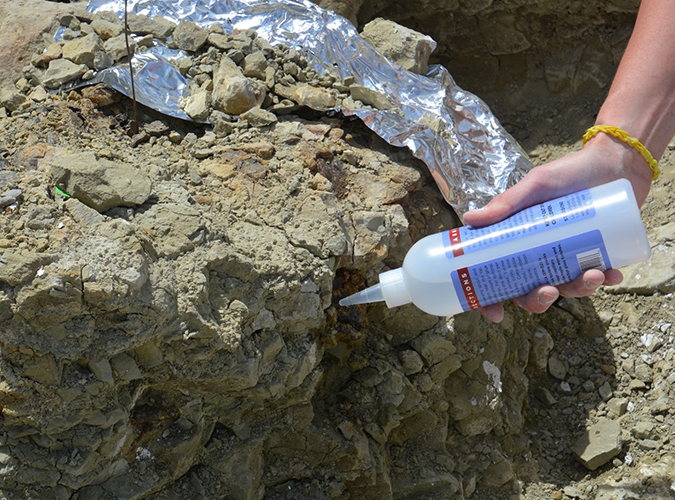
1. Clean off the top of the fossil. We try not to do much prep-work while in the field. That’s what labs are for. But there are some things that need to be done in the field so we can best protect the fossil. Because the fossil will be full of cracks, we apply an adhesive that will harden the fossil.

2. Carefully dig around the fossil to make it look a bit like a mushroom. We start this process by digging a trench around the fossil. We leave the fossil sitting on what we call a pedestal—a base of rock underneath the fossil.
3. Apply a removable layer on the top of the fossil. This provides a protective layer that separates the plaster from the bone so it doesn’t stick when we remove it. We’re using aluminum foil during this current dig.

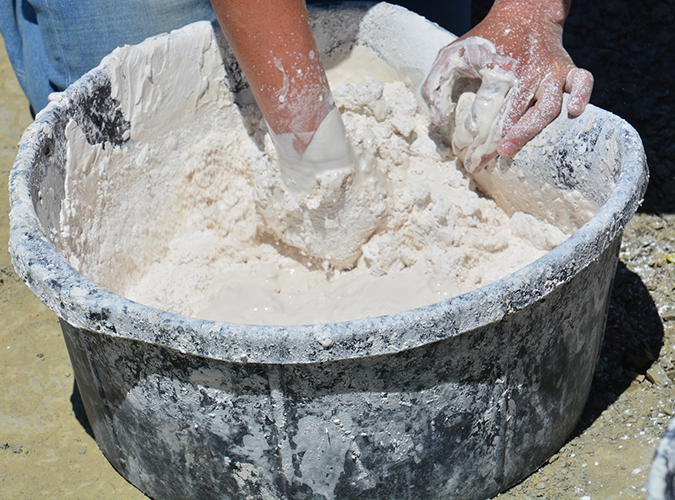
4. Place layers of burlap strips soaked with wet plaster on top of the aluminum foil. Wrap the top section of the fossil with the burlap-plaster-water mixture as well as around the sides. This is similar to papier-mâché that you might try at home. You’ll do this a couple of times to make sure you have jacket sturdy enough to hold your heavy fossils (and rock).

5. Remove fossil from pedestal by carefully rolling or flipping the jacket. Always a nerve-racking experience!
6. Complete the field jacket on the bottom of the fossil by applying more aluminum foil and plastered burlap if needed. Some fossils are small enough that all they need is a protective layer of foil and duct tape, while our larger fossils need a bit more support.

7. Once the plastered field jacket hardens, the fossil is protected from the elements and is ready for a safe trip back to the museum.

After the field jacketing process is complete, a fossil will find itself in one of two places by the end of the dig season. It could be loaded onto a truck and sent across the country to be cleaned and prepped. One such load of jacketed fossils was recently shipped to The Children’s Museum.
Other jacketed fossils will remain on-site until next season. These are buried underneath layers of dirt to protect them from the cold Wyoming winter. When we open the quarry next year, we will be able to excavate and remove these jacketed fossils first.
There’s a lot of work that goes into cleaning and prepping fossils once they’ve arrived in a lab. But that’s for another blog post. Stay tuned!
Mission Jurassic is a $27.5-million project that will be brought to life through the generosity of donors. Donate now on our website, or for extraordinary naming opportunities check out our Mission Jurassic Field Guide or contact Amy Kwas at 317-334-4608 or AKwas@childrensmuseum.org.
Stay up to date!
Don’t miss a moment of the Mission Jurassic project! Follow the Mission Jurassic hashtag (#MissionJurassic) and the museum’s Extraordinary Scientists-in-Residence, Prof. Phil Manning (@DrPhilManning)and Dr. Victoria Egerton (@DrVegerton) on Twitter for up-to-the-moment information from the dig site!

 (
(


